With the holidays here and New Year’s around the corner, sometimes our manicure becomes our best accessory.
If you regularly do your own manicures at home, or perhaps you just don’t want to spend the extra cost $$ at the salon, this is a really easy option for getting those signature Swarovski crystal nails.
For just $10 (!!!), my sister will show you how below!
♡ Swarovski Crystals Flat Back Combo Pack ($5.99 at Michael’s)
♡ Swarovski Elements Flat Back Glue Pen ($3.99 at Michael’s)
♡ Top coat
Begin by setting yourself up, taking the crystals out of the pack and sorting them by size.
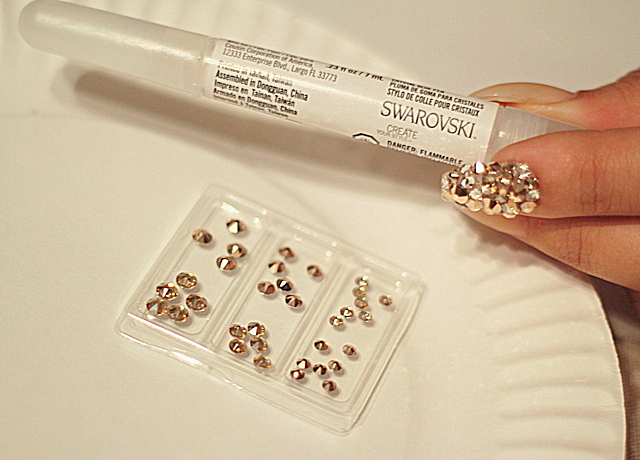
Starting from the cuticle, take your glue pen and cover 1/4 of your nail. What’s great about this specific glue pen is one side allows you to pick up the crystal, while the other side releases glue. Makes things very, very easy!
Place the smaller size crystals near the cuticle and the larger crystals toward the center of the nail.
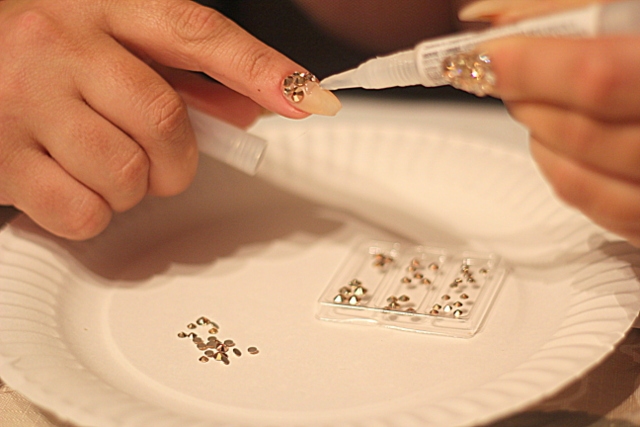
Use different sizes and colors to create dimension, rather than just using one size and one color. She used a gorgeous pack of colors, which were clear and iridescent tones.
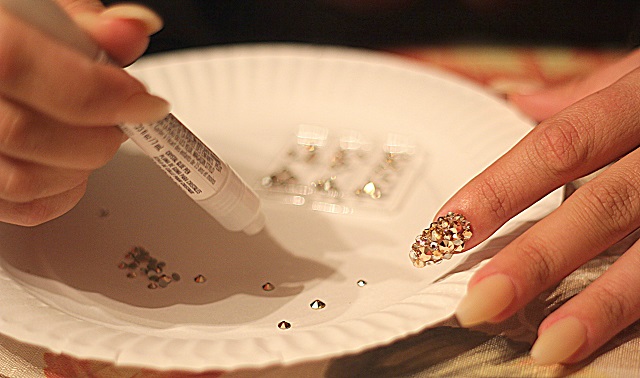
Continue by covering the rest of your nail in glue and scattering bigger crystals – filling in sparse areas with the smaller ones.
When your nail is complete, wait 5 minutes and finish it off with a generous amount of top coat. This will help “seal” the crystals.
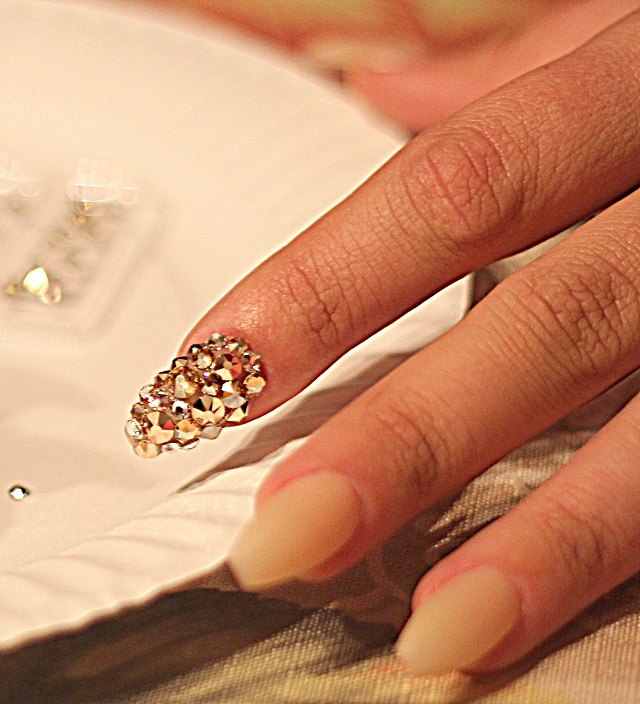
. . . THAT’S IT!
Oh and how long did this take? All of about 15 minutes. Will you be giving this look a try? Let me know if you have!


Leave a Reply